
How to Size a Solar Power System for a CCTV Camera (Panel, Battery, Controller)
Ask ten suppliers “how many watts solar panel for CCTV camera?” and you will get ten different numbers. Most undersized systems are not bought badly; they are bought backwards: the camera list is picked first, then a solar kit is chosen to match it. Work the other way round and the answer falls out on its own: load first, energy second, battery third, panel last. This guide walks the four steps in order, with the numbers we actually use.
Q: How many watts solar panel for CCTV camera do I need?
A: It depends on the total draw at the point, not on one camera. A mid-size PTZ camera typically draws 5–10 W, a DC 12V router around 8 W, and a small NVR adds more. Add those up, multiply by 24 hours for the worst-case daily energy, then size the panel against your local peak sun hours and your local system losses. In practice most single-point sites land in the 80–240 W system range. Each system outputs DC 12V at up to 5 A, so the ceiling is 60 W (5 A at DC 12V) of continuous load at one point. The 60 W figure is the maximum continuous DC output load at one point. Actual system sizing still depends on daily energy consumption, battery capacity and local solar conditions.
Step 1 · List Every Load at the Point You Are Powering
A solar power system is sized per point, not per site. One pole, one wall, one gate: whatever the panel and battery are actually bolted to. So the load list is everything that would be wired to that one system:
- Cameras: the number you intend to mount at this point
- Router or CPE: if the point needs its own uplink rather than a cable run back
- Recorder or NVR: only if it sits at the same point, which is unusual outdoors
- Illuminators, sensors, anything else on DC 12V: each one belongs on the list
Then put a number against each line. Use the rated draw on the device label or in its datasheet, not an average, and not a guess. Our working reference figures are below; they are typical values only, and the label on your own equipment always wins.
| Low-power PTZ camera | ≈5 W typical |
| Mid-size PTZ camera | 5–10 W typical |
| DC 12V outdoor router / CPE | ≈8 W typical |
| IR illuminator, sensor, small accessory | 1–5 W typical |
Reference values, not specifications. Recommended load depends on the actual power draw of your cameras and router.
One rule applies from the first line: count the router. It is present every hour whether or not anyone is watching, and on sites with a long-range radio link it is often the largest single line on the list.
Step 2 · Turn Watts into Watt-Hours per Day
Panel and battery are sold in different units, so the load list has to be converted into something both can be measured against: watt-hours per day (Wh/day).
Multiplying by a full day is deliberately pessimistic. A camera’s rated draw is the figure it reaches when it is working hardest: IR illuminators lit, lens moving. If the system covers that, it covers everything below it, and sizing against an easy mid-day average is how systems fail in the fourth week of a wet month. Treat the result as a ceiling rather than a forecast: it is the load held at its label figure for all twenty-four hours, which is the safe direction to be wrong in.
Worked example. Three mid-size PTZ cameras at ≈8 W each, plus one DC 12V router at ≈8 W:
- Cameras: 3 × 8 W = 24 W
- Router: 8 W
- Total load: 32 W
- Daily energy: 32 W × 24 h = 768 Wh/day
Keep 768 Wh/day in mind: it carries through the next two steps. Note how fast it moves, too. A fourth camera at the same ≈8 W takes the list to 40 W, and 40 W × 24 h = 960 Wh/day: one extra device, a quarter more daily energy. That is why the load list is worth getting exactly right before anything is ordered.
Step 3 · Size the Battery
The battery is what carries the site through the night and through weather that produces nothing. Its nameplate capacity is not the number to use, though. A lithium battery is not discharged to zero, and some energy is lost in conversion. Two factors reduce the nameplate figure:
- 0.8: depth of discharge. The battery is not run flat; the BMS protects it
- 0.85: conversion and wiring losses between battery and load
Applied to the four standard sizes we build:
| Model | Battery | Usable energy |
|---|---|---|
| YO-M8040 | 40 Ah: 18650 ternary lithium, 60 cells | ≈326 Wh |
| YO-P12060 | 60 Ah: 18650 ternary lithium, 90 cells | ≈490 Wh |
| YO-P12060-T | 60 Ah: 18650 ternary lithium, 90 cells | ≈490 Wh |
| YO-P240120 | 120 Ah: 18650 ternary lithium, 180 cells | ≈979 Wh |
Usable energy calculated from the nameplate capacity using the two factors above. Rainy-autonomy figures are manufacturer’s ratings; YO-M8040 is rated 4–5 days at a ≈15 W reference load. The other three carry a larger battery and are rated extended backup (load dependent).
Read that table as range rather than as a promise, and note the load the autonomy figure belongs to. The 4–5 day figure for YO-M8040 is a manufacturer’s rating at a ≈15 W reference load, a lighter load than the 32 W ceiling list from step 2, and the reason a heavier list shortens it. The honest answer to “how many days will it last” depends on your own daily energy figure and on how much sun the site gets while the weather is bad. We would rather run your load list through the numbers and name a model than quote a figure that does not survive the first rainy week.
Two practical notes on the battery itself. It is lithium, so it does not want to be charged below freezing, and its BMS protection range is −20°C to 60°C, a real consideration for sites that see hard winters or desert summers. It is also lithium, so it cannot fly as ordinary cargo: the cells are UN38.3 tested and transport documents are available on request, which in practice means sea freight for most export orders.
Step 4 · Size the Panel
The battery has to be refilled faster than the site spends it. The variable that decides whether it can is peak sun hours: the number of hours per day when the sun is strong enough for a panel to produce close to its rated output. Not daylight hours: a fifteen-hour summer day in northern Europe may still only deliver four or five useful hours.
Rough bands to work from, at the panel’s own tilt and facing the equator:
| Desert and high-insolation regions | about 5–6 peak sun hours, higher in summer |
| Temperate latitudes, summer | about 4–5 peak sun hours |
| Temperate latitudes, winter | about 2–3 peak sun hours |
| Tropical wet season | about 3–4 peak sun hours, on the days it is not raining |
Approximate bands for planning only, not measured data for your site. Local records beat any general figure. Ask a local installer what they size against.
System efficiency is the single figure that carries the losses a panel actually works against: controller and battery charging losses, wiring, cell temperature and dust. Plan on 0.8. A hot, dusty or long-cable site is worse than that.
Using the 768 Wh/day example, five peak sun hours and an efficiency of 0.8, the minimum works out at 768 ÷ (5 × 0.8) ≈ 192 W of panel, which rounds up to a 200 W class array. Then add design margin for the month you are genuinely sizing against: peak sun hours are a fair-weather figure, and the worst month of the year is the one that decides whether the site stays up.
Treat that 192 W as the calculated minimum, not as the final panel size: the array you actually order should carry design margin for the site’s worst solar conditions. The 192 W figure also sits at the conservative end of the method: it is the array you would need if the load held its rated draw for all twenty-four hours, while a real camera point is intermittent (the rated figure is what a camera reaches with the IR lit and the lens moving). That is why the standard systems pair panel capacity to the rated load band in the table further down, and let the battery carry the hours of darkness. Running the worst-case figure is still worthwhile, because it shows the two things that do change the answer: a site whose worst month delivers only two or three peak sun hours, and a genuinely continuous load such as a recorder sitting alongside the router.
The same calculation is why panel and battery are chosen together. A big battery charged by a small panel never refills; a big panel on a small battery has nowhere to put a good day’s production.
Three Sites, Three Answers
The four steps give the same method everywhere. What changes is the site. Three cases, all driven by the same 3-camera-plus-router load list from step 2: about 32 W, or 768 Wh/day on the pessimistic assumption from that step.
Texas: strong sun, long hot summer
High insolation means the panel side of the equation is comfortable: five or more peak sun hours, and a 32 W list sits inside the load band the YO-M8040 is rated for. The thing to actually think about in the south-west is heat rather than light: panel output falls as cell temperature climbs, and a sealed battery box in full afternoon sun runs well above air temperature. Shade the box, leave air around it, and remember the BMS protection range tops out at 60°C. A heavier camera list moves up to a YO-P12060.
Saudi Arabia: maximum sun, maximum heat, no rain season
Roughly the same panel logic as Texas, with the heat turned up and the rain problem removed. With no wet month to design against, the battery requirement is set by overnight runtime and by margin for the occasional dusty week. Dust is the local factor people forget: a coated panel produces less, and the panel has to be reachable for cleaning. A four-camera list plus router is a YO-P12060-T job in most cases: the same power core, with the heavier triangle bracket for pole mounting on open ground.
Indonesia: lower peak sun, long wet season
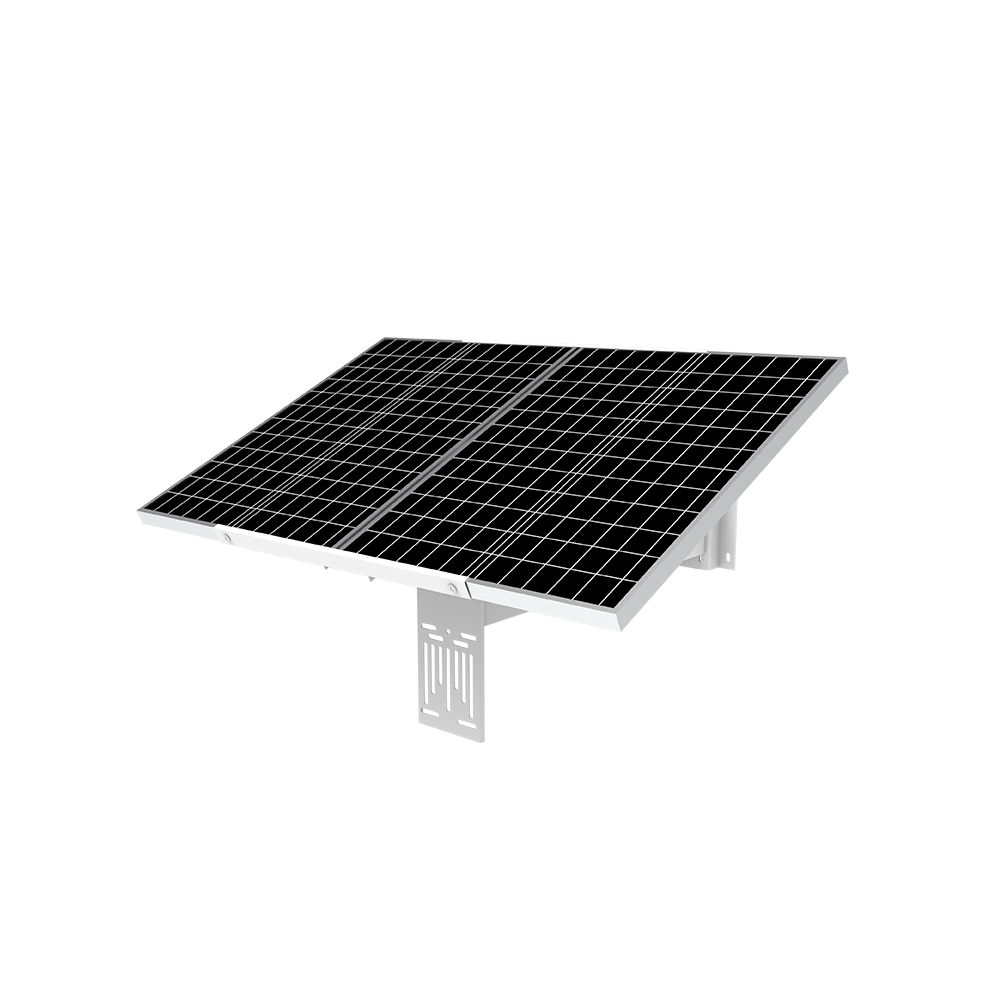
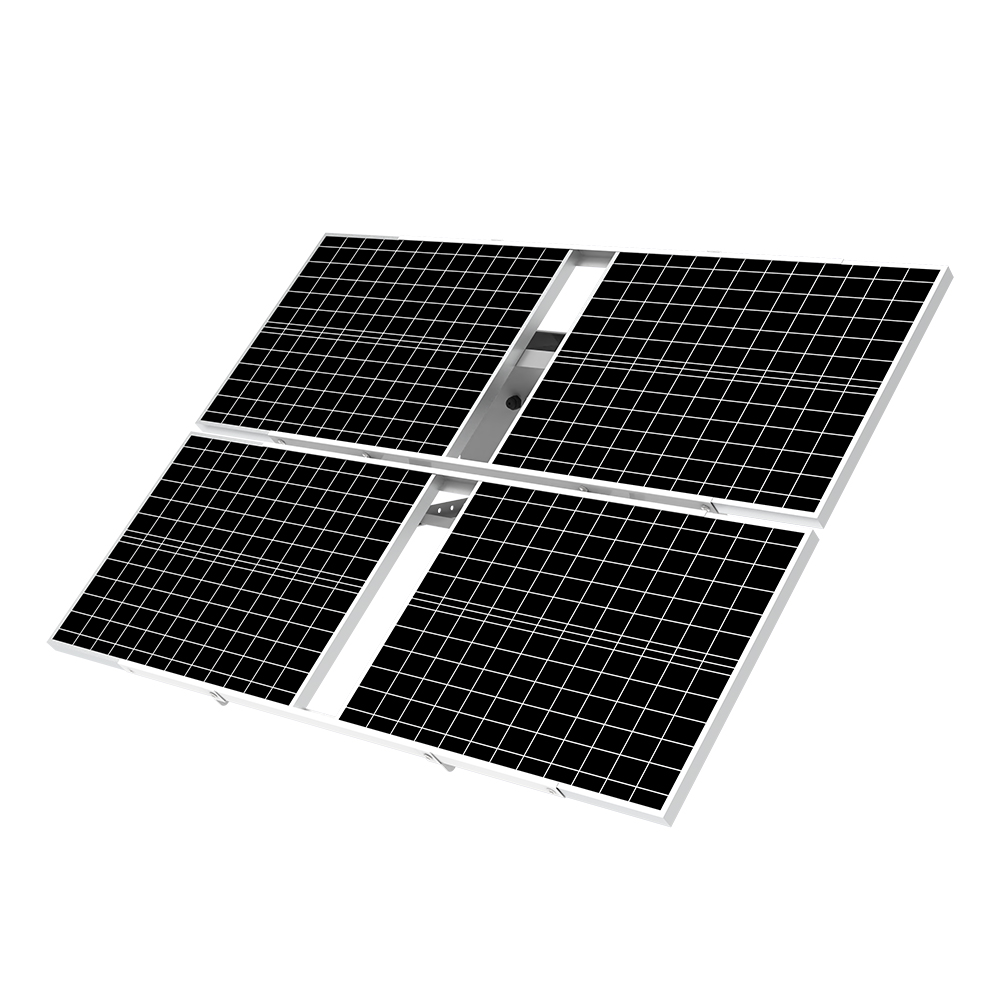
The load list is identical, but the site gets fewer useful sun hours and gets them inconsistently. Both sides of the equation have to grow: a larger panel to catch what sun there is, and a larger battery to carry the site across consecutive grey days. That is the case for YO-P240120: 240 W of panel in a 2×2 array and a 120 Ah battery, and the same reasoning decides any tropical or monsoon-affected site, from Southeast Asia to West Africa.
Turning Your Load Band into a Standard Size
With the load list done, this becomes a lookup rather than a choice. The table gives the rated load band for each standard size, so you can see where your own figure lands, and where it does not, which is the more useful answer of the two.
| Model | Panel | Battery | Rated load band at one point |
|---|---|---|---|
| YO-M8040 | 80 W: 2 × 40 W mono | 40 Ah | ≈24–40 W ≈2–4 × mid-size PTZ + router · ref. 8 W each |
| YO-P12060 | 120 W: 3 × 40 W mono | 60 Ah | ≈32–56 W ≈3–6 × mid-size PTZ + router · ref. 8 W each |
| YO-P12060-T | 120 W: 3 × 40 W mono | 60 Ah | same rated band as YO-P12060 heavy-duty triangle bracket, pole mount |
| YO-P240120 | 240 W: 4 × 60 W mono | 120 Ah | ≈40–45 W ≈6–7 × low-power PTZ + router · ref. 5 W each |
A load band is a rating, not an arithmetic output. Each band is quoted against a reference device: roughly 8 W for a mid-size PTZ, roughly 5 W for a low-power unit, plus an 8 W router. A list built from the 5–10 W range in step 1 will not land neatly on a band: two mid-size PTZ plus a router is 18–28 W, four is 28–48 W. That spread is deliberate, and it is why the load list decides rather than the camera count, with a maximum continuous DC output load at one point of 60 W (5 A at DC 12V). Every model is a complete package: panel, battery, controller and bracket, with DC 12V out through a 5.5 × 2.1 mm DC5521 plug on the output lead. Capacities and autonomy figures are manufacturer’s ratings. Protection rating IP65 on the sealed battery box. Panel warranty 5 years, battery 2 years.
Three Mistakes That Cost You a Second Order
1. Buying the cameras first, then looking for power
This is the order almost everyone uses, and the one that produces returns. Once the cameras are on site the load is fixed, and if it lands above budget the options are a bigger system, fewer cameras, or a site that browns out in winter. Sizing first costs nothing (four lines of arithmetic) and it lets the camera choice move instead of the power system.
2. Leaving the router or the recorder off the list
The router is the classic omission, because it is not a camera and does not appear in the camera count. It also runs around the clock, so on a small site it can be a meaningful share of the daily energy. Anything else on DC 12V at that point belongs on the list too: an illuminator, a sensor, a wireless bridge.
3. Designing for the best week of the year
Every system looks correct in July. The test is the third consecutive overcast day in January, when the panel produces a fraction of its midsummer output and the battery does all the work. Plan against the worst month the site sees. The larger system is paid for once, at order time; the smaller one is paid for every time the customer calls about a dropout.
Quick Answers
How many watts of solar panel do I need for four cameras?
Do I need an inverter?
Send the Load List, Get One Model
Tell us the camera models, how many sit at each point, and whether a router shares that point. We will run the four steps on your numbers, name one standard size and quote it FOB China. We are not the factory; we supply these standard systems, so if a different arrangement genuinely suits you better we will say so.
Sizing help
Send your camera and router models. We will confirm the load and name one model, typically within 24 hours, Mon–Sat.
Ask Us to Size ItCheck the numbers
The full technical data behind this guide: panel configuration, battery, output and bracket for every standard size, so you can check the calculation yourself.
See the DataMinimum order 2 pcs · FOB China · Payment is 100% in advance, by T/T bank transfer · Standard models · Typical lead time ~15 days
Where These Systems Are Used
Farm gates, construction entrances, remote WiFi points and long fence lines: the site types that make a solar point cheaper than a trench.
Full Technical Data
Panel configuration, battery capacity, output and bracket for every standard size: the figures behind the rated load bands used in this guide.